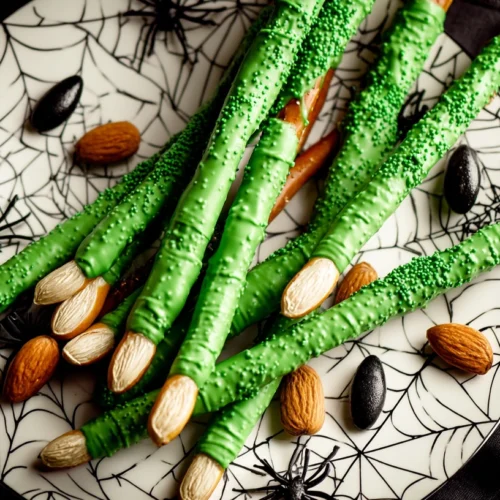
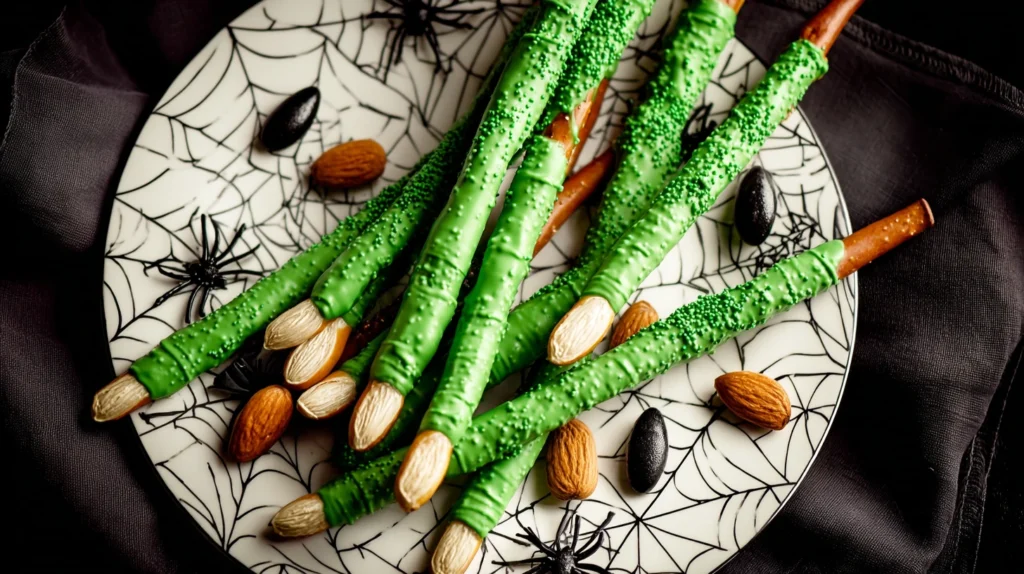
If you’re searching for the ultimate creepy-cute Halloween party snack, look no further than Witch Fingers. These no-bake delights use pretzels, melted chocolate, and almonds (or candies) to mimic eerie witch fingers, perfectly gnarled, scary, and fun to eat. Not only do they look straight out of a haunted forest, but they also come together quickly without ever turning on the oven. Whether you’re planning a kids’ party or need last-minute witch hat food ideas, these cookies will cast a spell on your guests.
Click to Access the Table of Contents:
Table of Contents
Why You’ll Love These Witch Fingers
- No-Bake Ease: Ready in under 30 minutes with simple ingredients.
- Creepy & Fun: Instantly gives your snack table a spooky Halloween vibe.
- Kid-Friendly: A hands-on recipe little ghouls and goblins can help with.
- Customizable: Use colored candy melts, sprinkles, or different “nails.”
- Perfect for Parties: Doubles as a snack and a Halloween decoration.

Witch Fingers Cookies
INGREDIENTS
- 20 pretzel rods
- 1 cup green candy melts or white chocolate + green food coloring
- 20 whole almonds or pumpkin seeds/candies for nails
- 1 tbsp red gel icing optional for blood effect
INSTRUCTIONS
- Line a baking sheet with parchment paper.
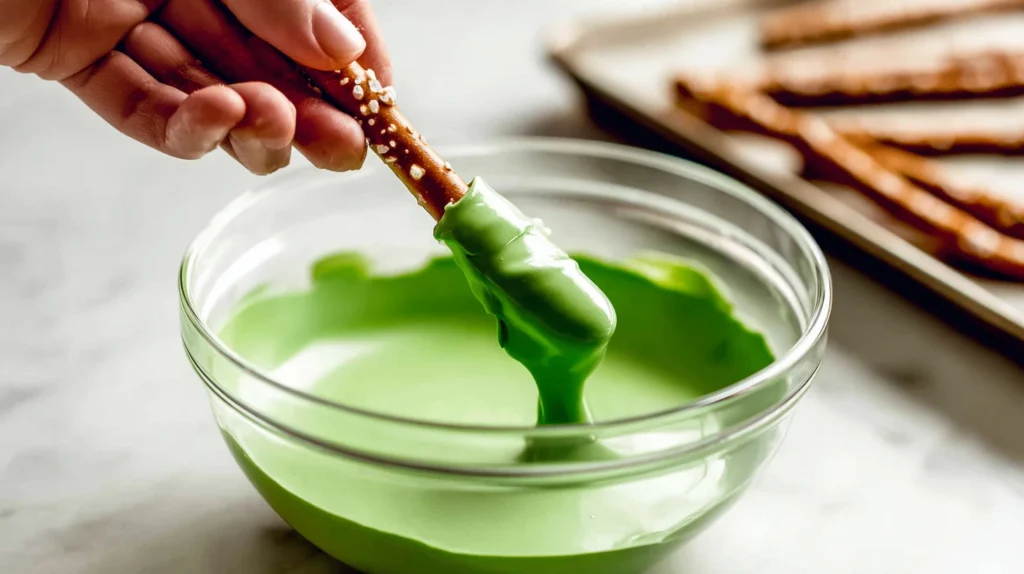
- Melt candy melts in microwave-safe bowl, stirring until smooth. Add food coloring if needed.
- Dip each pretzel rod ¾ into chocolate.
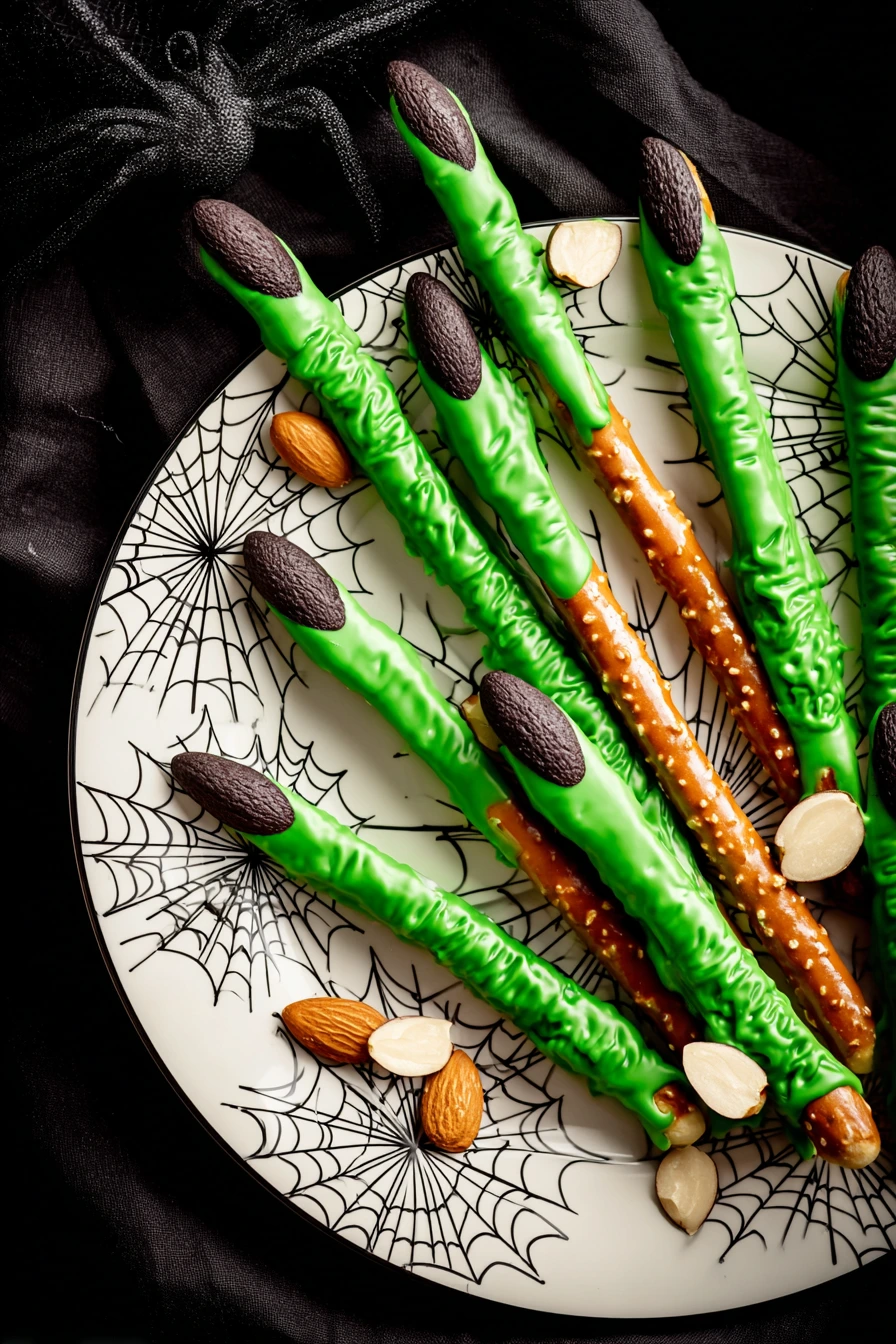
- Press almond onto tip to create fingernail.
- Use fork/toothpick to make ridges for knuckles.
- Decorate with red gel icing if desired.
- Let harden at room temp or refrigerate 10 minutes.
NOTES
Ingredient Breakdown
- Pretzel Rods: The base of your witch fingers; sturdy and crunchy.
- Candy Melts or White Chocolate: Coat the pretzels; green dye makes them witchy.
- Almonds (Whole or Slivered): The classic “fingernail.” Candy gems or pumpkin seeds also work.
- Food Coloring Gel: Green, purple, or even gray for spooky tones.
- Edible Marker or Red Gel Icing: To add wrinkles or bloody nail beds.
- Sprinkles (Optional): For fun texture and added Halloween flair.
Substitution Tip: For nut-free versions, use pumpkin seeds, sunflower seeds, or candy-coated chocolates for nails.
Step-by-Step Instructions
- Prep Ingredients: Line a baking sheet with parchment paper. Have almonds (or candy nails) ready.
- Melt Chocolate: In a microwave-safe bowl, melt your candy melts or white chocolate in 20-second intervals, stirring until smooth. Add green food coloring.
- Dip Pretzels: Hold a pretzel rod and dip about ¾ of it into the melted chocolate, coating evenly.

- Shape & Nail: Immediately press an almond (pointed end outward) onto the tip of each pretzel. This forms the “fingernail.”
- Add Details: Use a fork or toothpick to create ridges along the chocolate for knuckle lines.
- Decorate: If desired, pipe red gel icing around the nail for a creepy effect.
- Set: Place on parchment and let them harden at room temperature (or chill in the fridge for 10 minutes).
Notes and Top Tips
- Work Quickly: The chocolate sets fast, so have nails and tools ready.
- Thin Layer: Avoid too-thick chocolate coating; it may crack when set.
- Add Texture: Use an edible marker for wrinkles and veins after the chocolate hardens.
- Make Ahead: These keep well for 3–4 days in an airtight container.
Serving Suggestions & Variations
- Bloody Fingers: Add strawberry jam or red icing for a gore effect.
- Skeleton Food Twist: Mix in bone-shaped candies for a spooky snack mix.
- Witch Finger Pretzels: Swap chocolate for green candy melts for a brighter, cartoon-style look.
- Halloween Witch Fingers: Stick fingers upright in a cauldron-style bowl filled with candy corn for a creepy centerpiece.
Storage & Reheating
- Room Temperature: Store in an airtight container for 3–4 days.
- Refrigerator: Keeps up to a week, but may soften pretzels slightly.
- Freezer: Not recommended, pretzels lose crispness.

FAQs
Q: Can I make these in advance?
Yes! Prep a day or two ahead and store airtight. Just avoid humid environments.
Q: What if I don’t want to use nuts?
Use candy-coated chocolates, jelly beans, or even fondant shapes.
Q: Can kids help?
Absolutely, let them dip pretzels and add nails. It’s messy fun!
Final Thoughts
These Halloween Witch Fingers Cookies are the ultimate spooky snack, fun, quick, and guaranteed to creep out (and delight!) your guests. With just a handful of ingredients and zero baking, you’ll have a platter of frightfully realistic Halloween cookie fingers in no time.
Ready to try them? Make a batch, snap a photo, and share your spooky creations below! And don’t forget to check out my other Halloween cookie ideas for more inspiration.
Happy Halloween, and happy baking!
For more delicious recipes follow me on :
- Facebook: @LovinRecipes
- Instagram: @LovinRecipes

